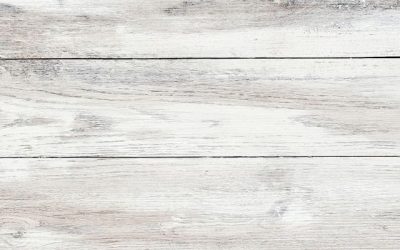
Water is one of the biggest threats to timber flooring. Whether it comes from a burst pipe, heavy rain, or a local flood, excess moisture can compromise the look and structure of your wooden floors. Gold Coast homes are especially vulnerable due to frequent storms with heavy rainfall and high humidity, making water damage a common concern. This guide is designed to walk you through the recovery process step by step. Whether your floors have minor stains or serious warping, taking the right approach early on can prevent long-term issues.
Sometimes, sanding is enough to restore your timber floors. Other times, boards that are too damaged will need replacing. Here’s how to tell the difference and what to do next.
Step 1: Remove Standing or Surface Water on Your Timber Floor
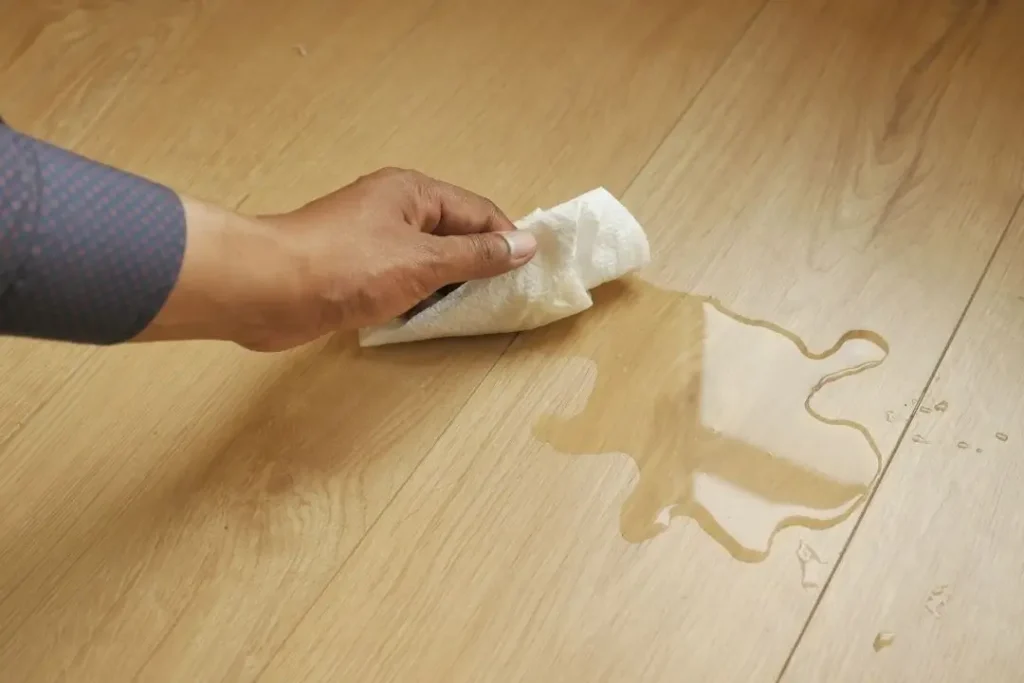
The faster you remove excess water, the better your chances of minimising long-term damage. Start by soaking up any standing water using absorbent towels, a mop, or a wet/dry vacuum. Focus on the floor surface, corners, and gaps between boards where moisture can collect. Even small puddles left for too long can seep into the timber and cause further swelling, warping, or mould growth. Avoid pushing water around, as it may spread to unaffected areas. Instead, blot it and extract it thoroughly.
If the flooding was extensive, check under furniture, rugs, or skirting boards. These areas are prone to trapping moisture, which can delay the drying process.
Step 2: Dry the Timber Floor Thoroughly
Once visible water has been removed, the next step is to dry out the timber as thoroughly as possible. The timber may look dry on the surface, but it can still hold moisture deep within the boards or subfloor. Use a combination of tools to speed up the drying process:
- Dehumidifiers help draw moisture out of the air and timber
- Fans improve air circulation and encourage evaporation
- Open windows and doors to increase ventilation
- Air conditioning can also help reduce humidity in enclosed areas
Allow the floor to dry slowly and evenly. Avoid using direct heat, like a hair dryer or heater, as it can cause timber to dry out quickly and crack. The process may take several days, especially in the humid Gold Coast summer. Be patient and don’t rush to sand or refinish. If you sand or refinish before the timber has dried and stabilised, moisture can be trapped under the coating and cause further damage.
Step 3: Treat and Prevent Mould Growth On Your Timber Floor
Water-damaged timber floors create the perfect environment for mould to grow. Addressing mould early isn’t only for your floors, but also the health of your household members. Start by inspecting for visible mould on the timber surface or between boards, musty odours, and dark spots or fuzzy patches.
If you find mould, clean the affected area with a mould-inhibiting solution that’s safe for timber. Always wear protective gloves and a mask when handling mould to avoid inhaling spores. Open windows or use an exhaust fan to ventilate the space during treatment. For deeper infestations, timber replacement is the best choice. Even if the surface appears clean, mould inside the timber can continue to grow and release spores over time.
To prevent mould from returning, make sure that the area is fully dry and well-ventilated. Dehumidifiers and good airflow will keep moisture levels in check while repairs are underway. You can find more information about mould and damp in homes from the Queensland Government.

Step 4: Assess the Damage to Your Timber Floors
Once the timber floor is completely dry and any mould has been treated, it’s time to reassess the damage. Some boards may appear intact at first but reveal more issues after drying, such as deep warping, cracking, or hidden rot. To determine whether a board can be saved or needs replacing, consider the following:
Timber Floor Refinishing is often enough when:
- Cupping is often minor and the timber has returned to a stable moisture level
- Stains are shallow and haven’t penetrated deeply
- There’s no mould present or has been successfully treated
- Boards remain firmly attached to the subfloor and feel structurally solid
Floorboard Replacement is likely needed when:
- Boards are warped, buckled, or no longer lie flat
- Cracks, splits, or soft spots have developed
- Mould has penetrated into the timber
- There are signs of rot or subfloor separation
If you’re uncertain, using a moisture meter can help identify areas where moisture is still trapped or where deterioration may not be visible. A timber flooring specialist can also help confirm which boards are salvageable and ensure replacement matches your existing floor as closely as possible.
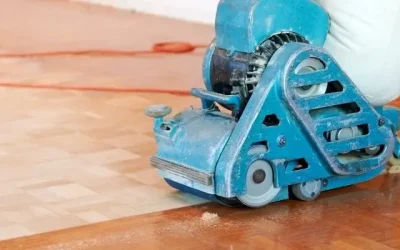
Step 6: Sanding the Surface
If your timber floor has passed the damage assessment and the boards are confirmed stable, dry and free from mould, sanding is the next step. Start with coarse-grit sandpaper to level uneven spots, then move to finer grits to smooth out the surface. Sand only the boards that are firmly attached to the subfloor and show no signs of structural weakness.
Be thorough but gentle. Avoid over-sanding, which can thin the timber and expose it to future issues. Use edge sanders for tight areas, and vacuum between sanding passes to prevent dust from settling back into the grain.

Step 7: Fill Minor Imperfections
Once sanding is complete and you’ve vacuumed all dust, inspect the boards for small gaps, nail holes, or fine cracks. Choose a high-quality wood filler or timber putty that closely matches your floor’s colour. Using a flexible putty knife, press the filler firmly into each imperfection, then smooth the surface so it sits flush with the surrounding timber. Allow it to fully dry, usually a few hours, before giving it a light sanding to blend the repair seamlessly to the board.
For best results, keep your patches minimal and precise. Overfilling can lead to uneven spots after drying. If you encounter large voids or areas where the filling won’t adhere properly, consider calling a professional so they can better address the problem.
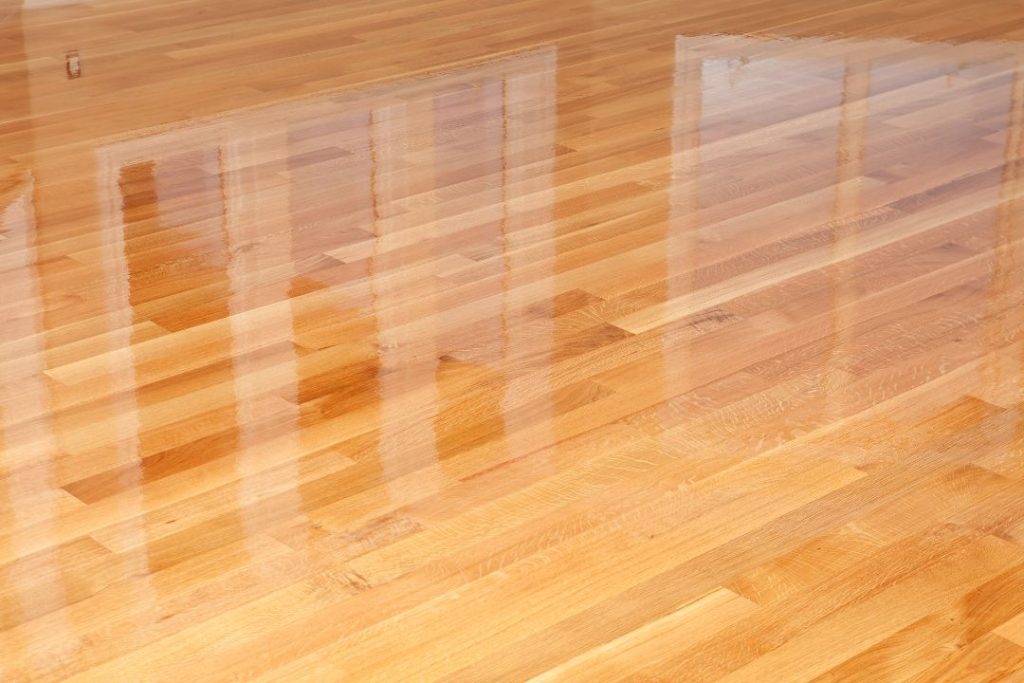
Step 8: Stain & Seal the Timber Floor
Once all filler is sanded smooth and the surface is dust-free, it’s time to restore your timber’s colour and protection. If you wish to apply a stain to alter the colour of the wood, begin by testing a small patch of stain on an inconspicuous area to ensure it blends with your existing boards. If you’re satisfied with the match then apply your chosen stain with a lint-free cloth or brush, working along the grain, and wipe away any excess before it dries. Allow at least 24 hours to fully cure and follow product specifications for further details.
After staining, seal the floor with a moisture-resistant topcoat. Apply thin, even coats, lightly sanding with fine-grit paper between each layer to promote adhesion and a flawless finish. 2 to 3 coats are usually enough for long-lasting protection.
When to Call a Professional
Many of the steps tackled here can be tackled by a confident DIYer, especially if you’ve rented the right tools. If the damage is confined, you have experience in sanding and refinishing on a small scale before, or you just enjoy hands-on projects, you can restore your floor without outside help.
However, it’s time to call in a professional flooring specialist if the damage is extensive, boards are severely damaged, or mould has penetrated deeply. You might also need professional help if you’re dealing with an insurance claim that demands detailed reports. Flooring contractors bring specialised equipment, certified expertise, and an eye for seamless board matching and stain blending.
Investing in professional help can save you time, money, and stress, and ensure your timber floors are protected against future storms and humidity. We’ve also discussed this more in-depth in our blog post on DIY vs professional timber floor sanding.
Conclusion
Water damage can be a real headache, especially in humid areas like the Gold Coast. But by acting fast and following key steps such as quickly removing moisture, thoroughly drying, and tackling any mould, you can often save your floors. But for bigger issues like widespread damage or deep-seated mould, it’s always best to call in a flooring specialist. Whether it’s a simple sand and refinish or needing to replace a few boards, the goal is always to get your timber floors beautifully restored and resilient.
Don’t let water damage ruin your home’s beauty. If you’re facing extensive damage, contact our team today for expert assessment and restoration. We service the entire region of the Gold Coast, From the coastal suburbs to the inland suburbs in the hinterland. So if you need timber floor restoration in Broadbeach, Nerang or up in Tamborine, we’ve got you covered. Trust us to restore the heart and soul of your home, one floorboard at a time.